|
Ingredients: 2 cups dried red kidney beans 2 lb. corned beef, cut into pieces 1 cup pumpkin, peeled and cut into small pieces (optional) 1 bay leaf 1 cup coconut milk 1 medium onion, chopped 3 cloves garlic, minced or 1 teaspoon garlic powder 2 scallions, chopped 3 thyme sprigs 1 Scotch bonnet pepper (whole, not chopped) 1 teaspoon black pepper 1/2 teaspoon allspice (pimento) berries Salt to taste 2 to 3 cups water (or enough to cover the beans and meat) Dumplings/Spinner 1 cup flour (for dumplings/spinners) 1/2 teaspoon salt (for dumplings) 1/2 cup water (for dumplings) Instructions:
   
0 Comments
Ackee and Saltfish INGREDIENTS 2 cans (19oz) canned ackee (about 24 ackees), drained and rinsed in cold water ½ pound boneless salted Cod fish 1 small onion, chopped 1 stalk of scallion, chopped 1 to 2 plum tomatoes, chopped 1 small red or green bell pepper. Chopped 2 garlic cloves ½ scotch bonnet or habanero pepper, chopped (optional) 2 spring thyme (1 teaspoon thyme leaves) Salt and black pepper to taste 1 tablespoon avocado or coconut oil DIRECTIONS
Boiled Dumplings INGREDIENTS 1 cup all-purpose flour ¼ teaspoon salt About 1/2 cup of room temperature water DIRECTIONS
Boiled Green Bananas INGREDIENTS 3 to 4 green bananas, peeled DIRECTIONS
   INGREDIENTS 900 grams Organic all-purpose flour (about 5 ¾ cup flour + 1 tablespoon) 2 teaspoons of salt ¾ teaspoon active dry yeast 730 ml - room temperature filtered water (about 3 cups plus 1 tablespoon + 1 teaspoon) DIRECTIONS
Notes:
    INGREDIENTS 1 9-inch deep dish frozen Pie crust, thawed 1 tablespoon ghee 1 to 2 cups chopped fresh or frozen organic chopped spinach, defrosted and wrung free of liquid ¼ cup chopped onion or shallot 4 breakfast organic chicken sausages, chopped (optional) 1/2 teaspoon sea salt 1/8 teaspoon black pepper 1/8 teaspoon or pinch of cayenne pepper Pinch of nutmeg 4 eggs 1 ¼ cup organic heavy cream 1 cup shredded Gruyere or Swiss cheese (or your favorite cheese) DIRECTIONS 1. Preheat oven to 375°F. Prick sides and bottom of thawed pie crust with a fork before baking (optional). Bake for about 10 minutes. Remove from the oven and set aside. 2. In a medium mixing bowl, beat eggs, cream, black pepper, salt, cayenne and nutmeg and set aside 3. In a skillet over medium heat, add ghee. 4. Once the ghee is hot, add onion and cook until soft and translucent, about 4 to 6 minutes 5. Add sausage and cook for about 3 minutes. 6. Add spinach and cook for 3 to 4 minutes. Remove most of the liquid before adding to the pie crust. 7. Spoon the spinach mixture into the pie dish, then top with cheese and the egg mixture. Be careful not to overfill. 8. Bake for about 30 minutes or until the filling begins to puff up and the top is golden. Remove from the oven and and let cool for a few minutes before you serve. Notes: Have fun changing up the fillings by using different veggies, like spinach or broccoli, or different cheeses, like Swiss, cheddar or goat cheese. You can also use different meats, such as ground breakfast sausage, chicken sausage or bacon. If you use a smokey bacon use less salt. You can also eliminate the crust by baking the mix in a muffin pan. If you do, reduce your baking time by half and grease you baking pan. You can also use a pie crust sheet. Instead of pricking the pie crust you can place parchment paper on top of the pie crust before baking and use some dried beans onto the parchment paper before baking for 10 minutes. You can freeze your cooked quiche for up to 3 months. Remove it from the freezer and place in the refrigerator 24 hours before reheating it. Cover with foil or parchment paper and bake in the oven at 325°F or util the center is hot.   Ingredients 2 cups Jasmine rice 3 cup water 1 can of unsweetened coconut cream (13.5 fl oz (400 ml)) 2 teaspoon salt to taste Directions:
Notes and Tips:
Kiribath, also known as Milk rice, is Sri Lanka’s national dish. It is made during celebrations and is also served for breakfast. 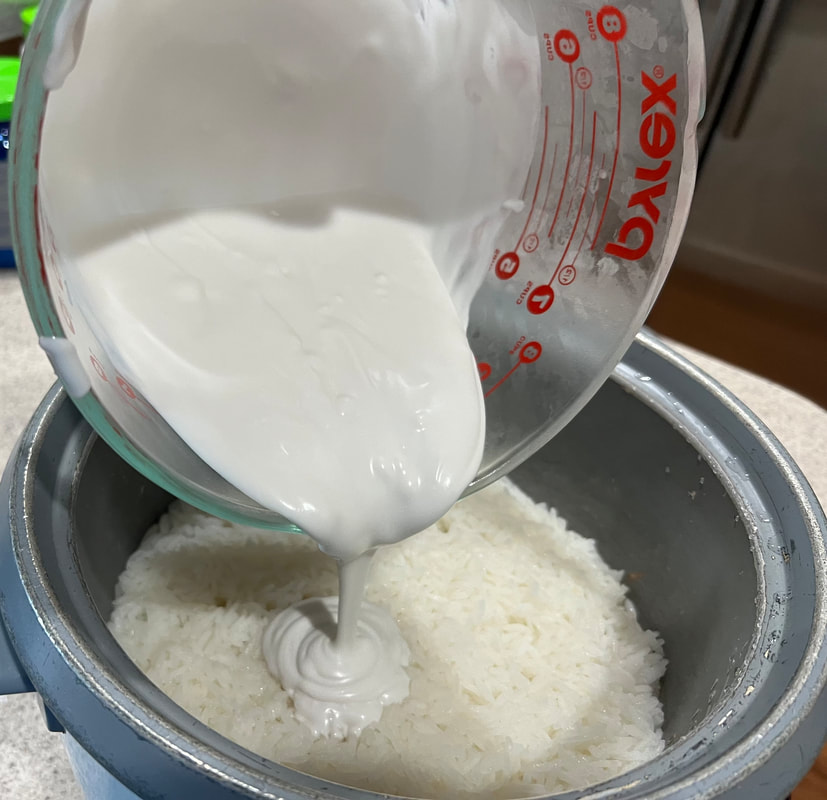 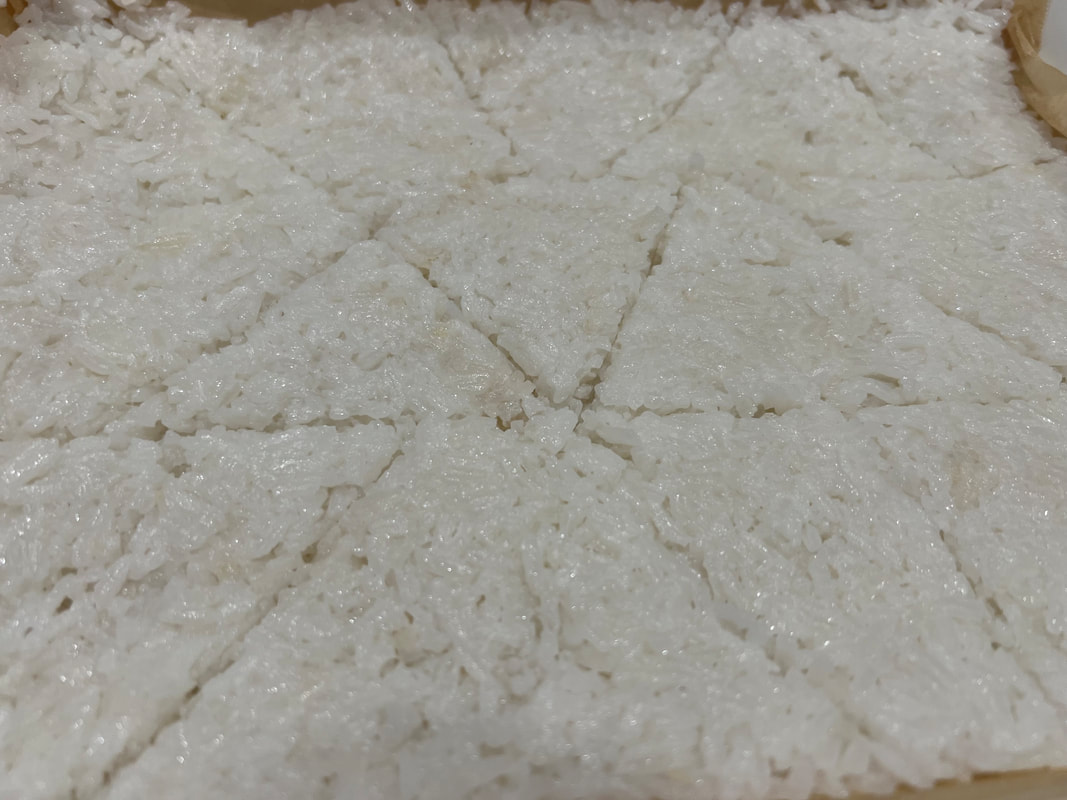 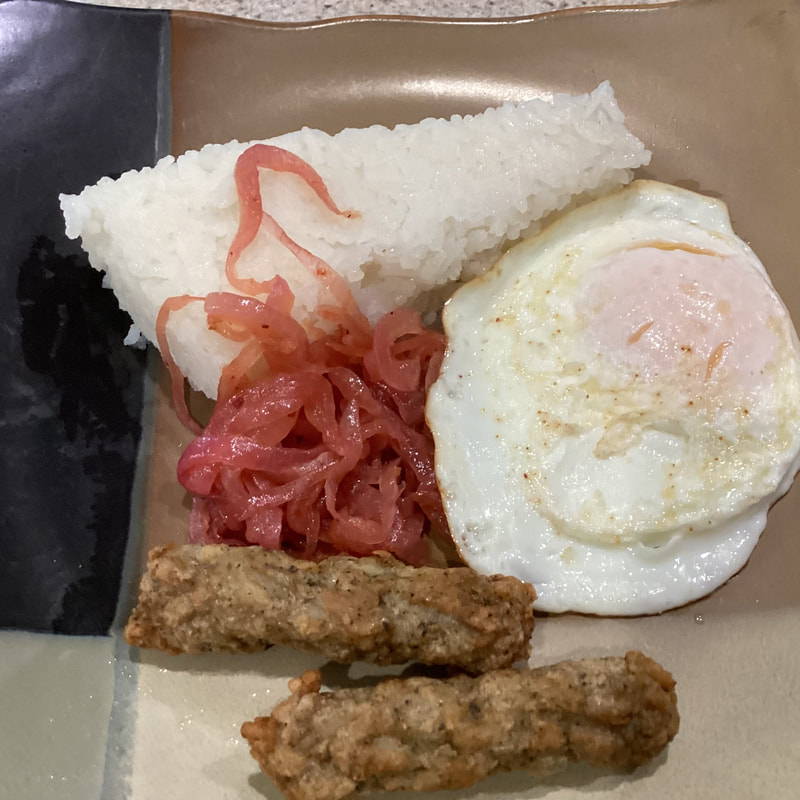 Ingredients 1 lb red onion, thinly sliced 1 small cinnamon stick 4 green cardamom pods 1 tablespoon sugar 2 tablespoon oil 2 tablespoons tamarind juice or 1 teaspoon tamarind paste 5 curry leaves A drop of vanilla extract or a 2-inch pandan leaf 1 tablespoon of spicy red chili pepper flakes Salt to taste Directions:
This sweet and spicy onion chutney adds flavor to any meal or is great on toast. 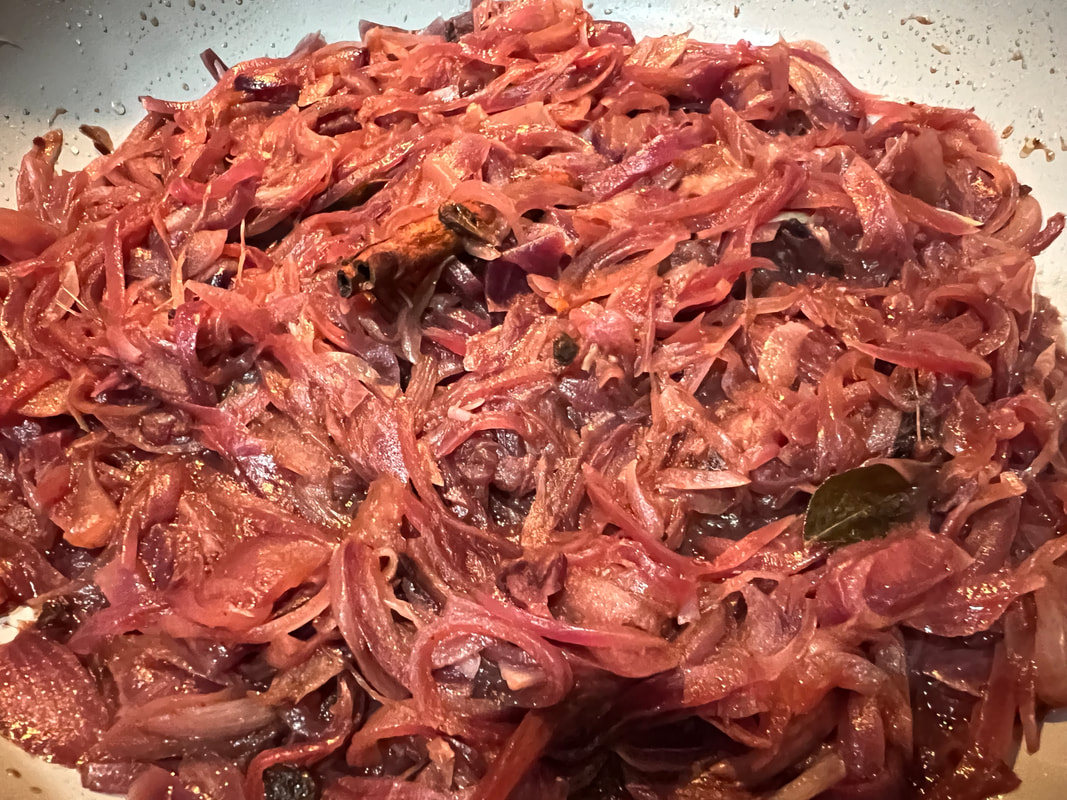 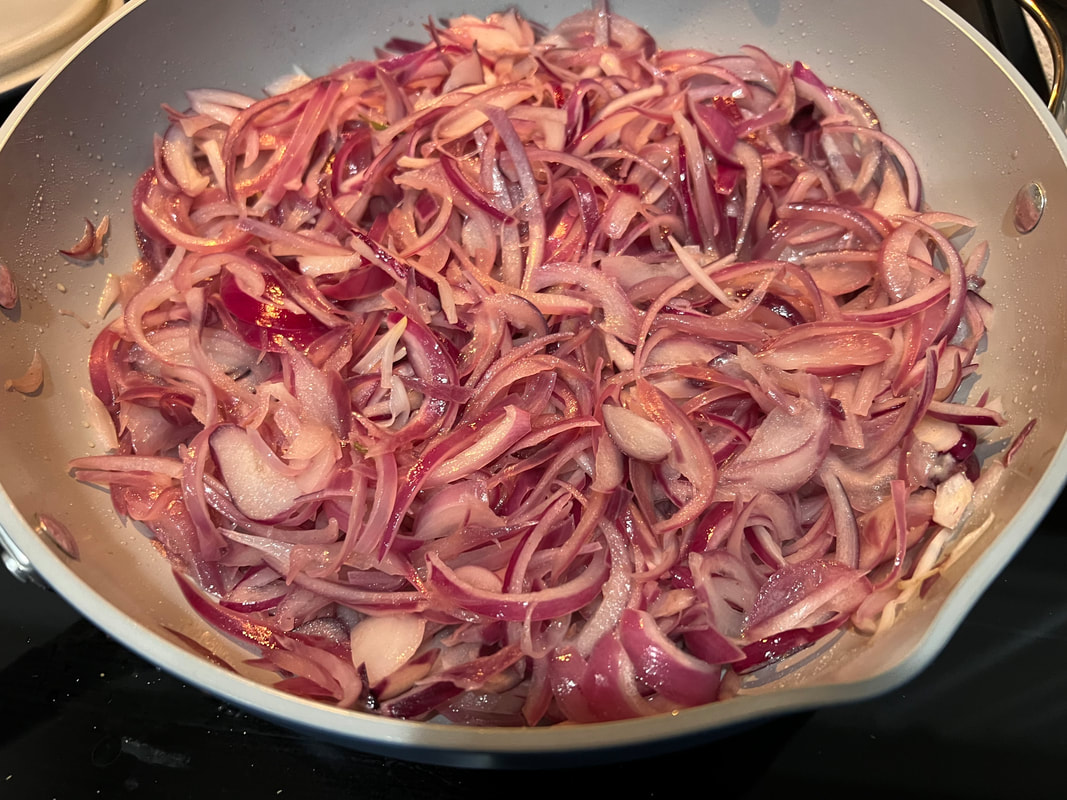 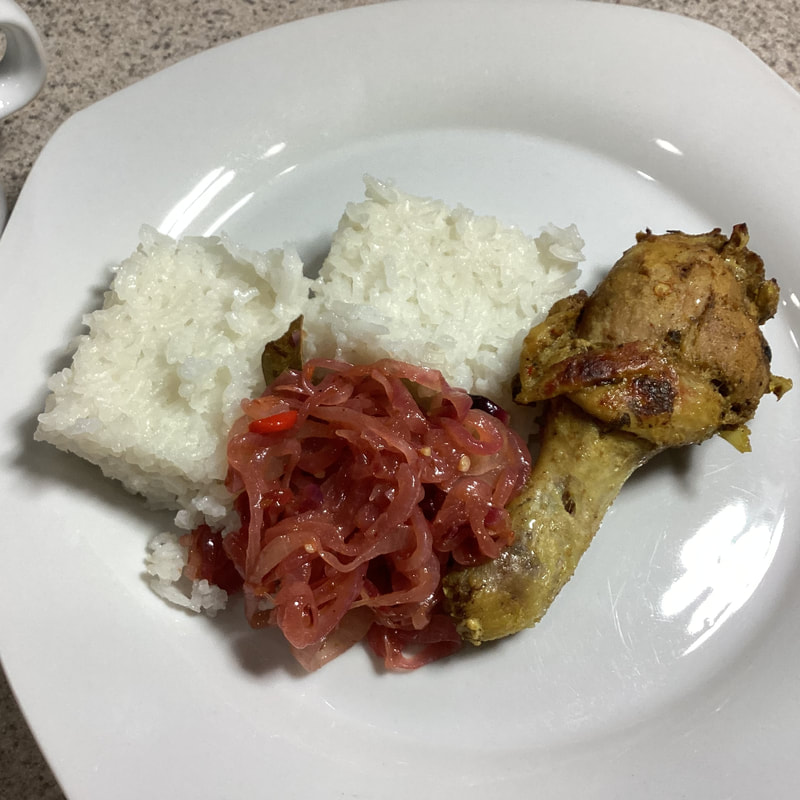 Ingredients: 2-3 pounds of oxtail pieces 1 medium onion, chopped 4 cloves garlic, minced 3-4 sprigs of fresh thyme or 1 teaspoon dried thyme 1 Scotch bonnet peppers (adjust for heat preference) (optional) 2-3 scallions, chopped 1 tablespoon Jerk seasoning 1 can (14 ounces) butter beans or butter beans, drained and rinsed. (optional) 3 - 4 cups of water - enough to cover the meat 1 1/2 teaspoons salt to taste 1/4 teaspoon black pepper to taste Optional: 1-2 tablespoons browning sauce for color or mushroom soy sauce Traditional spinner (small/long flour dumpling) optional 1-2 Carrots diced Instructions:
1/2 cup all-purpose flour 1/4 teaspoon salt 1/4 cup water - as needed
NOTE:
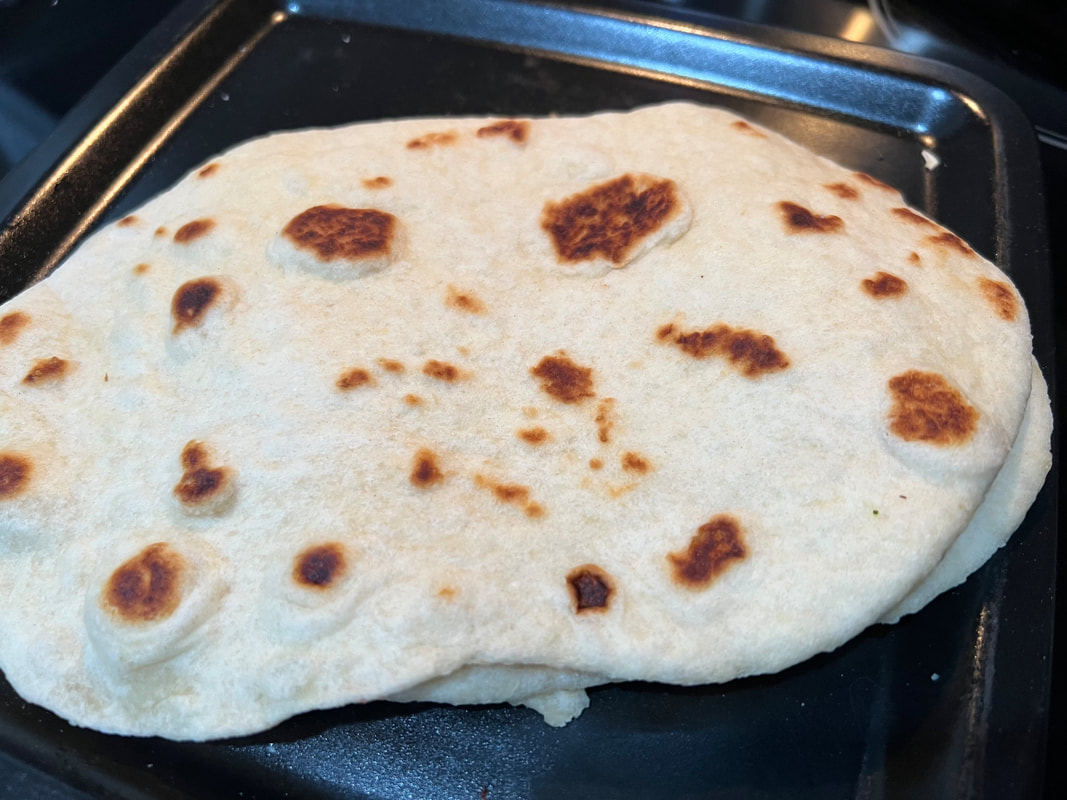
This dish is known for its robust and savory flavor, making it a favorite in Jamaican cuisine. Enjoy! 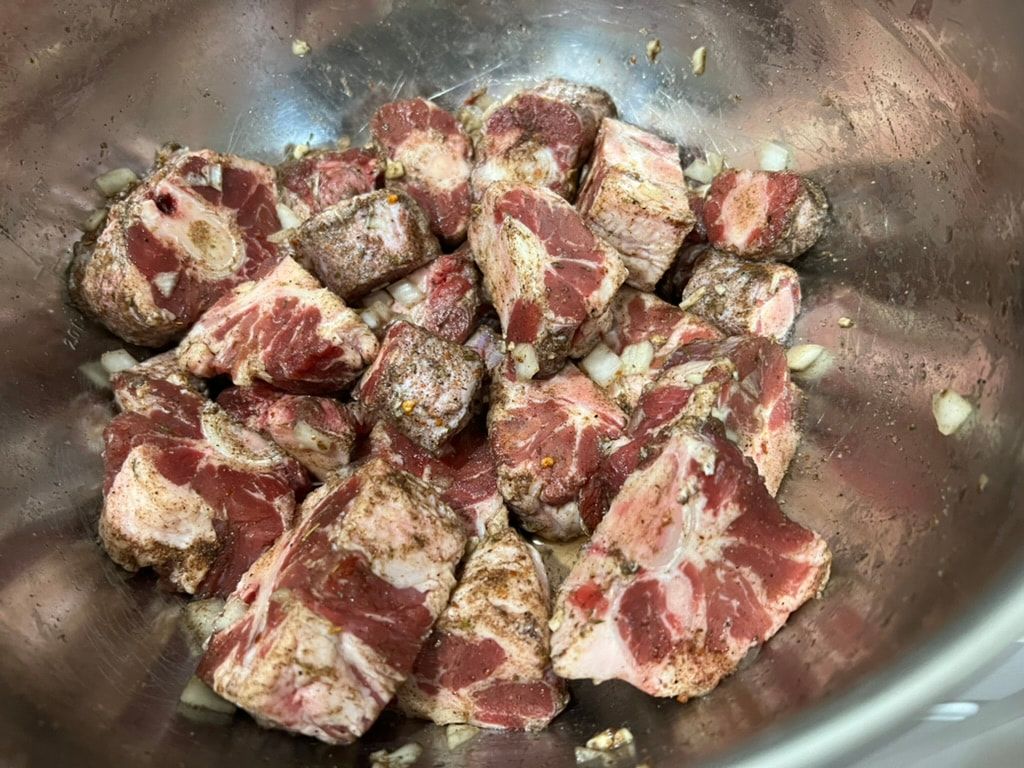 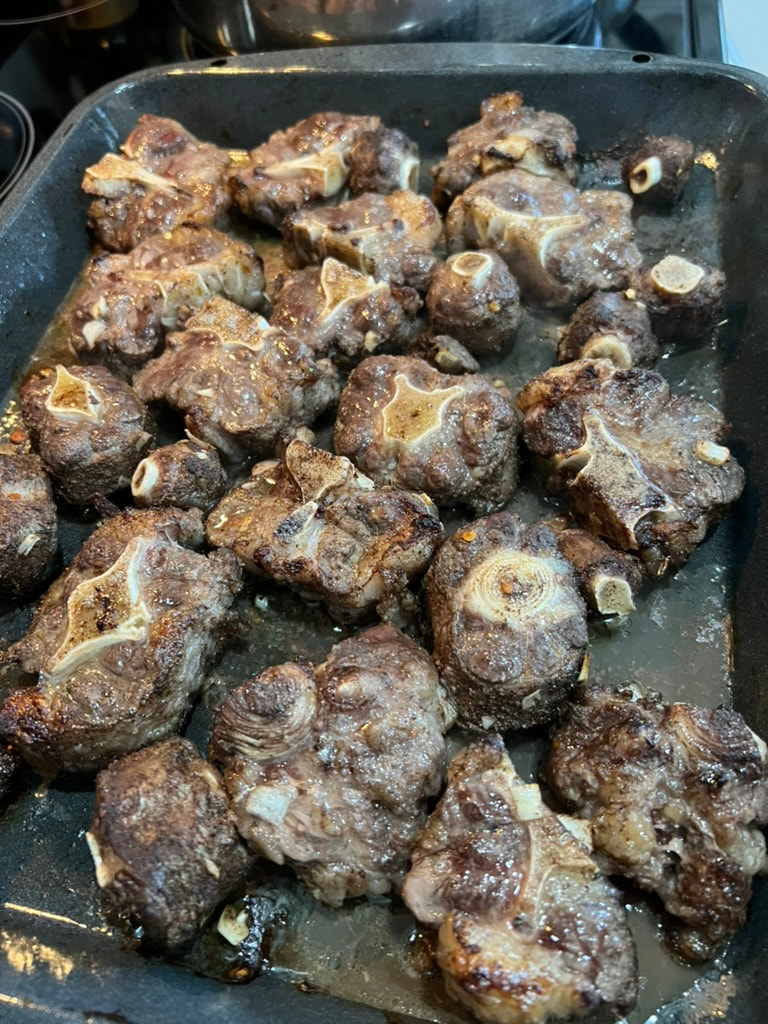 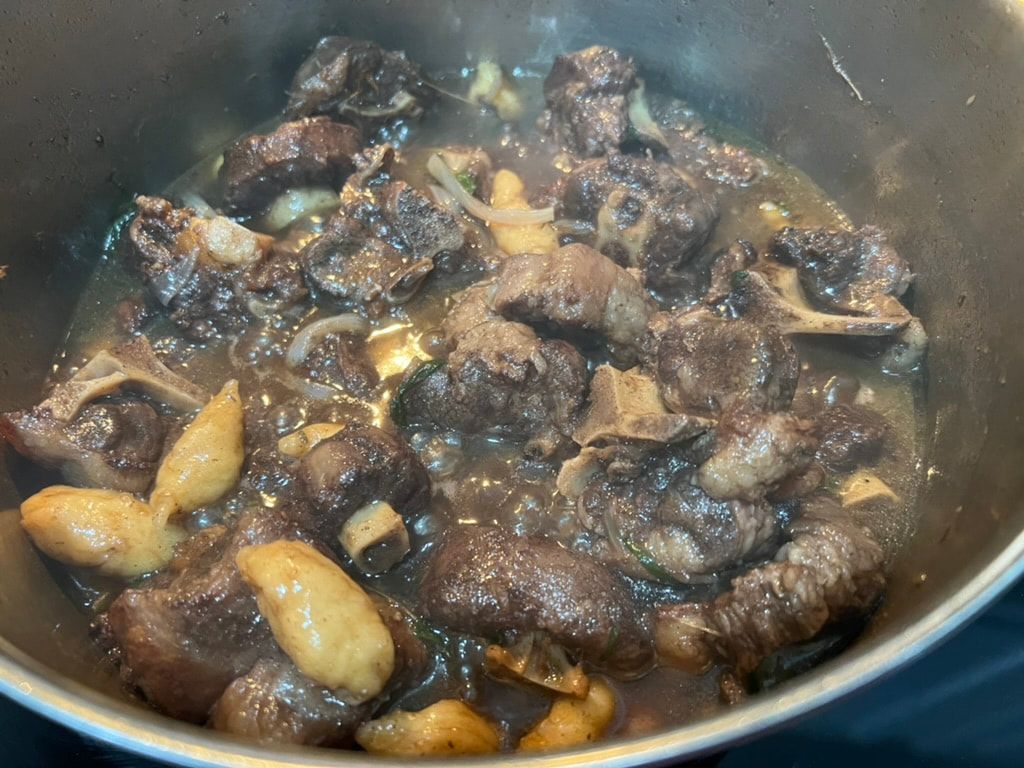 Making naan without yeast is simple and results in a soft, fluffy bread perfect for scooping up curries and sauces. Here's a straightforward recipe for yeast-free naan that you can easily make at home. Ingredients: 1 1/2 cups all-purpose flour, plus more for dusting 1/2 cup almond flour 1/2 teaspoon baking powder 1/2 teaspoon baking soda 1/2 teaspoon salt 1/2 cup water 1/2 cup plain yogurt (can use dairy or plant-based) 1-2 tablespoons oil (sunflower, avocado oil), plus more for cooking Optional: minced garlic, chopped cilantro, or other herbs for flavor Instructions:
 The aromatic richness of curry. It's a simple yet flavorful dish that can be prepared quickly, making it a perfect choice for weeknights and special occasions. Ingredients: 1 lb shrimp, peeled and deveined 2 tablespoons coconut oil 1 medium onion, finely chopped 3 garlic cloves, minced 1 to 2 teaspoons fresh ginger, grated 1 tablespoon curry powder (adjust to taste) 1/2 cup coconut milk 3/4 cup water 1 medium potato, diced into small cubes 1 cup diced pumpkin or butternut squash 1 small red bell pepper, sliced 1 scallion, chopped 1/4 cup chopped tomatoes 1 hot pepper (optional) Salt and pepper to taste 1 tablespoon cilantro or culantro, chopped Cooked rice or naan for serving Instructions:
Visit our storefront and order our flavorful, authentic curry today! 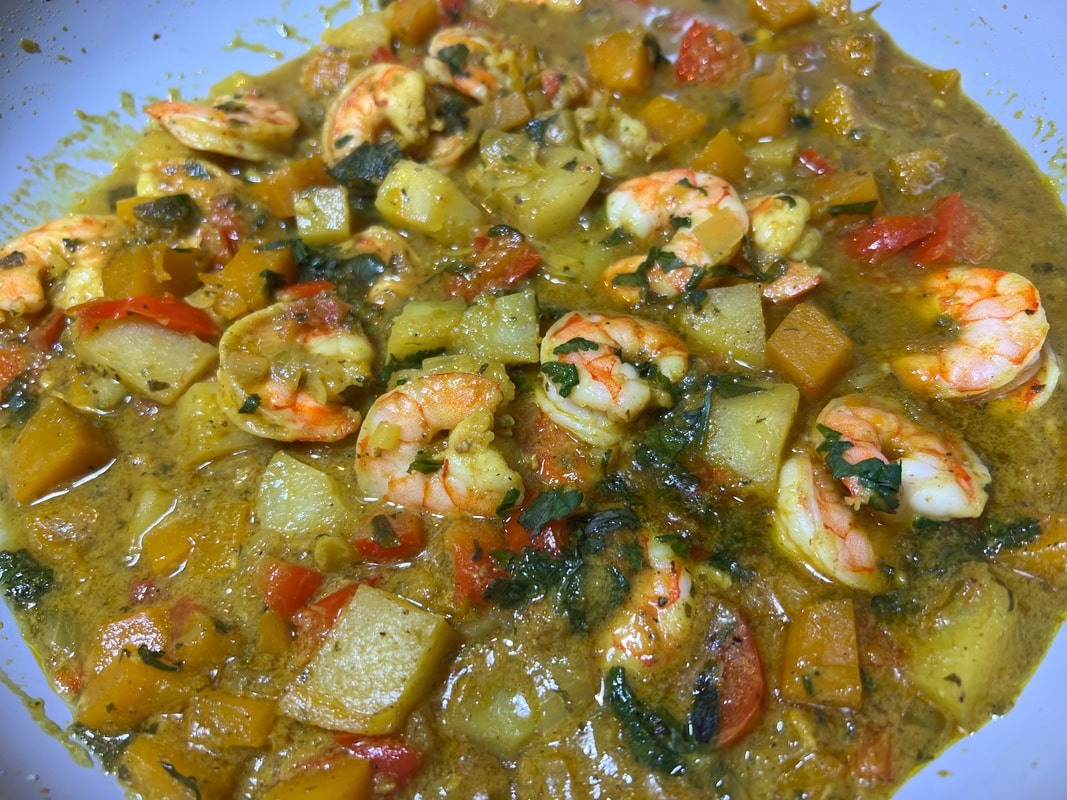 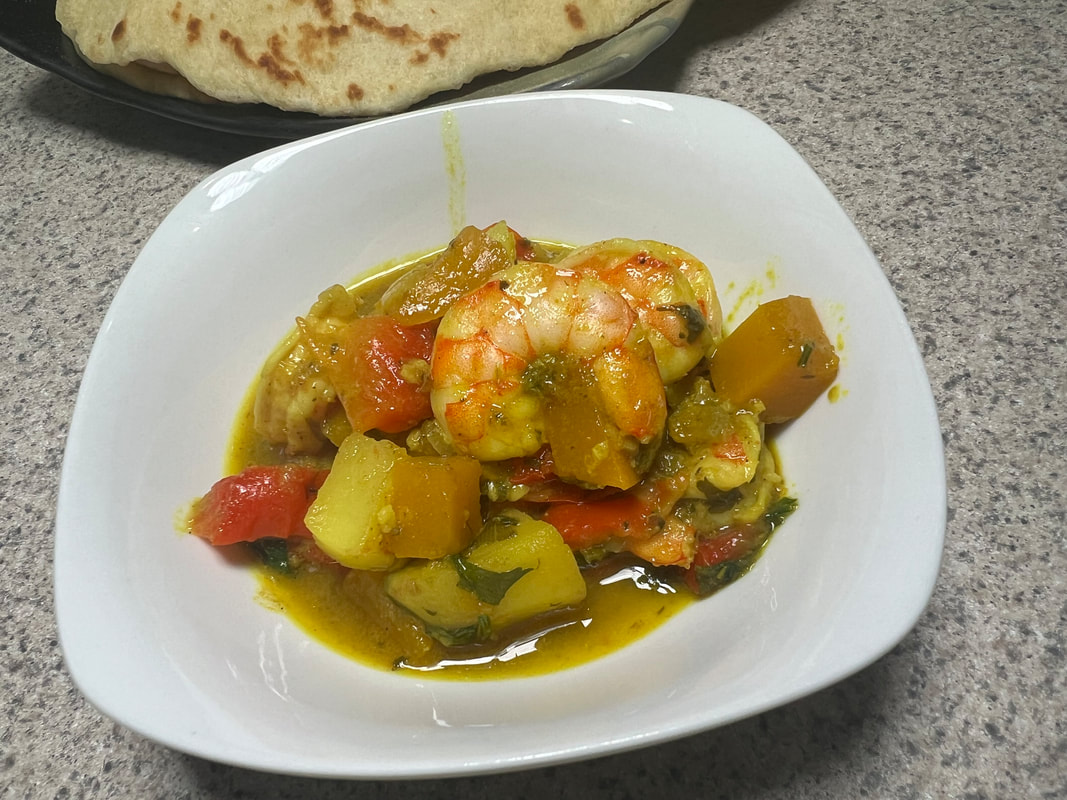  Ingredients: For the Pastry: 2 1/2 cups all-purpose flour 1/2 tsp salt 1/2 cup (1 sticks) cold unsalted butter, cubed 1/2 cup lard, cold, cubed 6 tbsp ice-cold water For the Filling: 1 pound beef (chunk steak) or chicken, diced 1 onion, finely chopped 1 medium potatoes, peeled and diced 1 carrot, peeled and diced 1 small rutabaga, peeled and diced Salt and black pepper to taste 1-2 tablespoons of chopped fresh thyme unsalted butter (for filling) 1 egg, beaten (for egg wash) Instructions: Prepare the Pastry:
Prepare the Filling:
Assemble the Pasties:
Bake the Pasties:
Allow the pasties to cool for a few minutes before serving. They are delicious both warm and at room temperature. Enjoy your homemade Cornish pasties! Note: This classic pasty (pronounced "pass-tee") recipe, is a type of savory hand pie traditionally associated with Cornwall, England. This recipe makes approximately 4 pasties. Fun Fact - Rutabagas are a nutritious, low-calorie root vegetable with a slightly sweet and nutty flavor. They're packed with vitamin C, potassium, and dietary fiber. Swap them for potatoes to reduce calories in your dishes. Enjoy rutabagas roasted, mashed, or in soups for added flavor and health benefits.  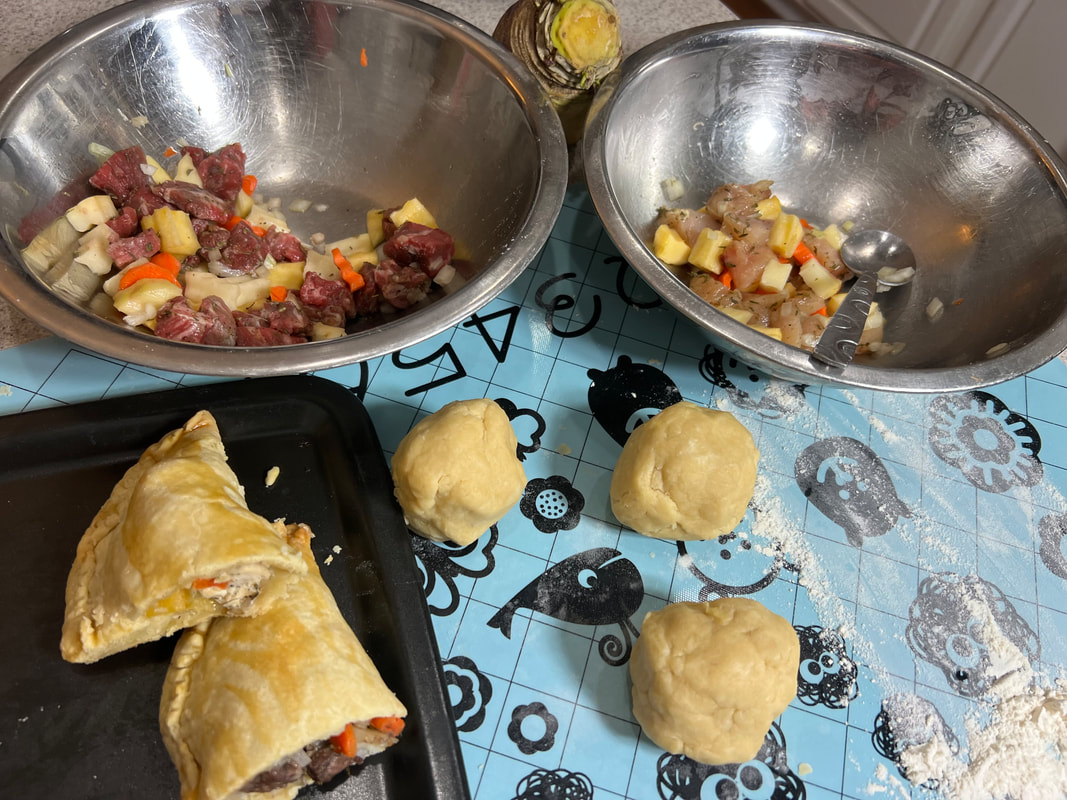  |
Search for RecipesAuthorHi my name is Dianne. I enjoy cooking a variety of dishes and putting a smile on peoples faces. I have been teaching hands on cooking classes for over 18 years. I love creating new dishes and exploring nature. Archives
June 2024
Categories |
 RSS Feed